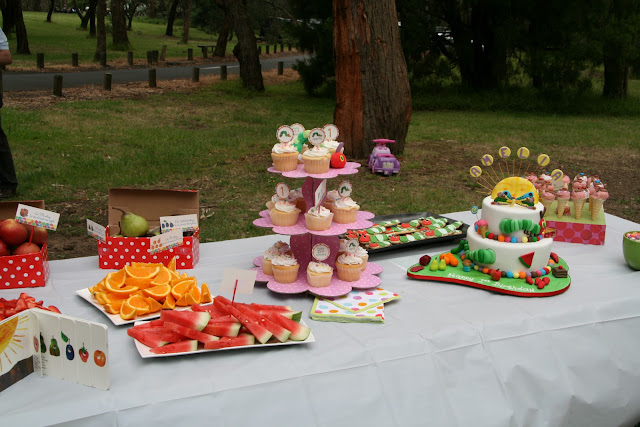
I am loving making cake pops at the moment. Its so nice to be able to just reach for a couple of ingredients and create some yummy treats when the kids or I want something sweet and fun. Cake pops are the new cupcakes - in my opinion. And they are so much fun to make. What makes these little balls of cakes on a stick so appealing to both children and adults?.... well its the bite size loveliness of course!.
There are so many great cake pop recipes out there right now, and if you happen to have Bakerella's book you will find so much inspiration, its just amazing what this lady can create. My personal favourite recipe (which is so simple and most importantly quick and easy to follow) is the Oreo and Philly recipe - Two ingredients 300gm of Oreo's biscuits and 250gm of Philadelphia cream cheese. Too Easy!
Things you will need to make these yummy little balls on a stick -
- Two packets of Oreo biscuits (150gms each)
- One packet of Philly cream cheese ( 250gms)
- Candy melts
- Lollipop sticks
- Sprinkles to decorate
Method
1. In a food processor, place the two packets of Oreo biscuits and whizz these, making sure the consistency resembles breadcrumbs
2. Add the cream cheese to the mix and whizz for a few seconds, until combined with the biscuits
That's it!!!, how easy is that
3. Next I use a 24 whole mini muffin tray and roll out small balls of the cake pop mix and place them in the mini muffin trays
4. Place in the fridge for a few hours, or if you are short of time, you could place them in the freezer, but remember not to leave in there for too long or they will go rock hard!
5. The next step is to prepare the candy melts. If you use compounded chocolate from the store be sure to purchase the correct product to colour chocolate.
Roberts confectionery have a great range of colours. Or you can use the ready coloured chocolate from Wilton's which is readily available form places like Spotlight. I purchase mine from
cakes around town. They have a large selection of ready made coloured chocolate melts.
Make sure that what ever you are using to melt the chocolate in is deep enough for the ball to be completely submerged in.
I melt my chocolate in the microwave using 30 second intervals.
Once the chocolate has melted and is smooth, you are ready to cover the cake pops
6. Take out the tray of cake pops from the fridge and place one lollipop stick into the melted chocolate. Next insert the stick in the hardened ball
7. Place the ball on the stick into the candy melts, ensuring the whole ball is covered with chocolate
8. Next take the ball out of the chocolate and lightly tap the excess chocolate against the side of your dish/cup to remove excess chocolate (note I have not done this for the ice cream pop as I wanted a melting effect)
9. Decorate the cake pop, using sprinkles, flowers, etc and then place the finished cake pop to set on a Styrofoam block
Although a little time consuming to make, these little lovelies are OH so yummy and so worth the effort
ENJOY!
For these I used pearl balls on co ordinating chocolate melts.
These yummy ice cream balls are a little more work, but how effective would they be on a dessert table!
I used mini ice-cream cones and smarties to decorate.
These mummy cake pops were a favourite at Halloween!,
They make such a fabulous addition to any dessert table. I hope you find this little tutorial useful, I am happy to answer any questions you may have or alternatively would be happy for Studio cake to make them for your next event. Prices vary depending on complexity, and start at $4.50 each. Please contact me for an obligation free quote.


